
Create Mood Using Only Lighting Techniques
Conveying emotion is key to taking your work from amateur to professional. Film and photography must connect with the audience to be successful, and whether you’re capturing uninhabited landscapes or crowds of people; the only way to forge a bond with your audience is through mood and emotion.
Photography lighting techniques are a crucial method of conveying a subject’s mood with speed and precision. From the moment your audience watches the opening of the scene or looks at the photo you’ve produced; the intensity, source and position of your lighting can instantly display the mood you want with minimal effort from you.
Here, we’ve selected some of the most common moods and included some quick tricks to help you use simple and effective photography lighting techniques in your work.

Sadness
Cold and dull colour palettes, gloomy days, and downtrodden mannerisms all contribute to a feeling of sadness. But if you’re looking to heighten the intensity of this emotion, we suggest using the side-lighting technique (i.e. directing your light source to one side of your subject).
Side-lighting highlights texture and depth, so you can better see actions such as: tears running down a pitiful face; sharp cheekbones of an unhappy soul; and vast, lonely spaces of an uncomforted person — all of which add to the despair of the scene.
Side-lighting can be as intense as you like. If you’re going for subtle sadness, use dimmer light, so that you still get those shadows but they’re not so intense. Or, if you want true tragedy and despair, use intense lighting and focus it on a very particular side-section of the subject to get those extremely harsh shadows that emphasise sorrow.

Anger
For pure rage, you need hard, high-intensity lighting. This particular photography lighting technique is best for its ability to emphasise, so the expression of anger on your subject’s face will do part of the work, while the lighting method will help boost the emotion with dramatically harsh edges, lines and shadows.
For effective high-intensity lighting, place your key light at about 60 degrees above your subject. You’ll then need to flag the key light to prevent any light spill on your subject’s surroundings, and make sure to focus and flag you back light/s to make sure they’re targeting only your subject, too. Move your backlights further away or simply — diffuse them — to lower their intensity, which will give you incredibly intense lighting on your subject.
The effect of this means your audience will see your subject almost detached from walls, floor and background, which means they can physically only truly focus and pay attention to the emotion on display. Consequently, an incredibly strong subject-to-audience bond is created.

This photography lighting technique could arguably work on any of the other of the emotions in our list, but we feel this is at its best when used to convey anger due to its ability to highlight the enraged contours of the face and create harsh contrasts of light and shadow. Rage is such a strong emotion, and high intensity lighting (particularly when used with other techniques, like side-lighting as you can see above) is probably the best technique available to accentuate your subject’s portrayal of the mood.
Drama
Photography lighting techniques are at their most creative when being used to instill drama in a scene, and the secret is low-key lighting.
Low-key lighting utilises a source of hard light to emphasise shadows in your image, which heightens the atmosphere of raw emotion and powerful melodrama. This type of lighting captures and directs the audience’s gaze, which means you have more control over what they look at in a scene without having to zoom in or shoot only close-ups.
You can use only one source, go for any intensity level, or angle your light from any direction with low-key lighting. The only rule is you must not let your light reach the background.

Drama in photos and videos depends heavily on the facial expressions of the subject. What low-key lighting does is help you highlight those intricate nuances of the face, tensing of the muscles and flickering of the eyes to subtly — but effectively — heighten the overall drama of the scene.
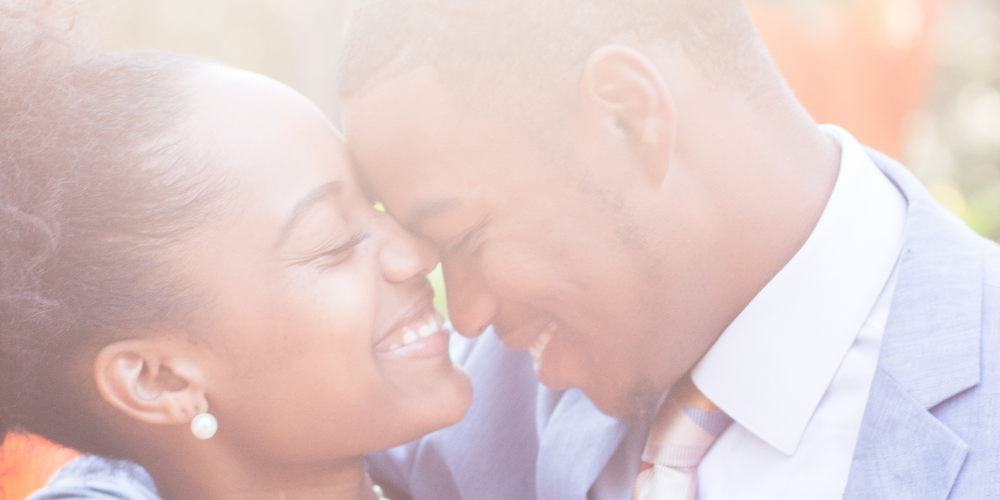
Joy
The crux of using photography lighting techniques to create a joyful scene is the balance between your key light (main illuminator fixed directly on the subject) and fill light/s (illuminator/s often placed at a lower angle that shine on the subject from the side to help control or eliminate shadowing).
If you want to show a bright scene with a happy subject, you need to ensure that the intensity of key and filler lights are close to even.
Set up your lights in the normal, three-point positions and make sure that the key and fill lights spread enough to cover all subjects (if you have more than one in your image). You key light is at its best for the happiness mood when it’s around 45-degrees above the subject/s (high lighting gives an airy and light impression). The key light will then work with the lower-level fill lights to get rid of shadows and their harsh/drama-filled effect.
To boost the effervescent, cheerful glow, it’s also important that you use soft front lighting. Diffusing light gives your scene a smoother look and softens the edges of your subject. This will make your subject appear less severe, and so add to the overall positivity of the scene. Remember; the more intense your back light, the more dramatic your scene appears, so avoid strong back lighting for a cheery scene.
Danger
If your aim is to create a sense of danger, then a quick and simple way to do this with photography lighting techniques is by manipulating your backlight. Luckily, this is equally effective using natural and artificial sources.
Not being able to fully make sense of a scene or subject instantly creates a sense of danger for the audience. Seeing someone coming towards you, but not being able to make out their face and features is a threatening scenario to be in, and you can easily create this air of danger in a scene by using a backlight to illuminate the outline of a subject.

Commonly known as silhouetting, keeping the front of your subject unlit and using a striking sunset or harsh artificial backlight will eliminate the subject’s face so that the audience are left with an advancing figure of darkness. Shoot at a low angle and add dramatic music during editing to heighten the sense of danger.
Guilt
Guilt, at first, might seem like a difficult mood to portray using photography lighting techniques. Not as obvious as joy and despair, guilt is more of an understated emotion that many of us would find difficult to act out if asked.
To help you convey guilt in your photos and videos, we suggest going back to basics: place your subject literally under the spotlight. This can be as obvious or as subtle as you like, as long as the light is coming from above the subject, and creates shadow to emphasise the impression that they’re under scrutiny — or should be.

We hope this will help you with your photography lighting techniques. To get the most out of your shoots, you can also browse our quality selections of lighting kits, studio/tungsten/day lights, and LED panels and kits.
Comments are closed here.